Remember the raw peanut buttercups I posted?? If not that's ok.... I have them on my Bakery page.
I did a blog post on them when I first started blogging. And now I am re-posting them! BUT.....this time...I have step by step pictures on how to make them! An even better reason to try them out!
They are really yummy and I think they are really worth the time and effort.
I posted the "old post" below.
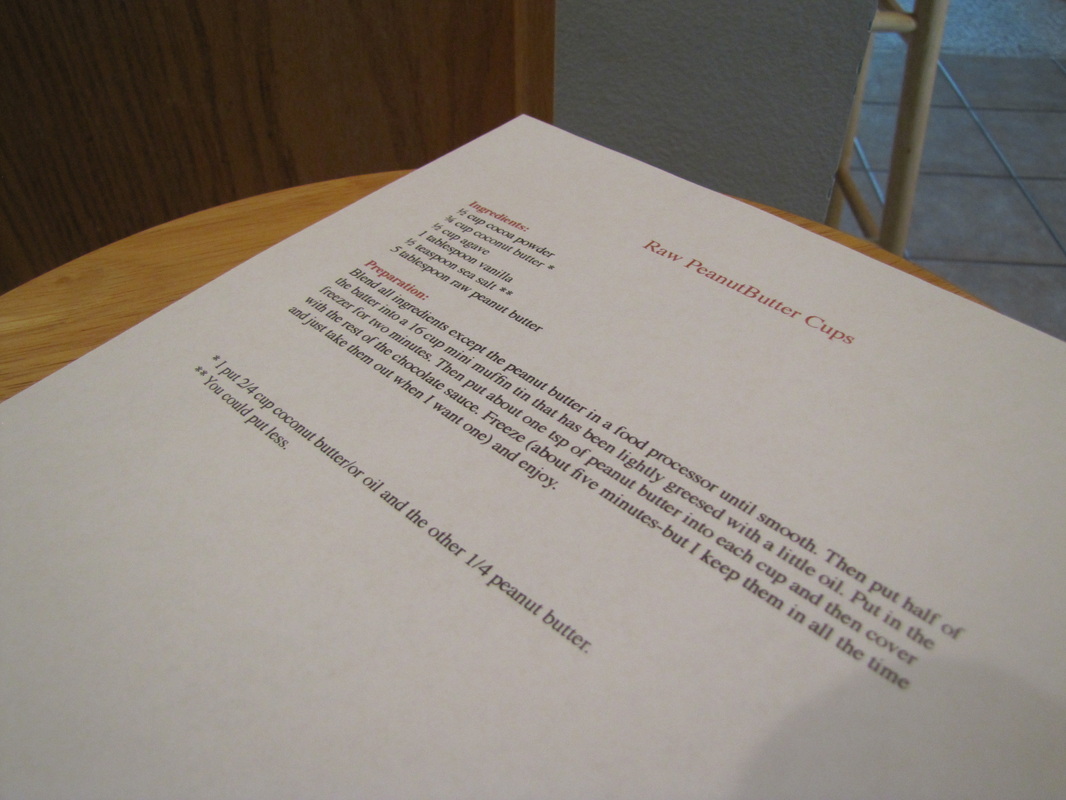
Ingredients:
1/2 cup cocoa powder
3/4 cup coconut butter
* 1/2 cup agave
1 tablespoon vanilla
1/2 teaspoon sea salt
** 5 tablespoon raw peanut butter
Preparation:
Blend all ingredients except the peanut butter in a food processor until smooth. Then put half of the batter into a 16 cup mini muffin tin that has been lightly greased with a little oil. Put in the freezer for two minutes. Then put about one tsp of peanut butter into each cup and then cover with the rest of the chocolate sauce. Freeze (about five minutes-but I keep them in all the time and just take them out when I want one) and enjoy.
* I put 2/4 cup coconut butter/or oil and the other 1/4 peanut butter.
** You could put less.
 |  |
~ ~ ~ ~ ~ ~ ~ ~ ~ ~
Alright, here is the new post. I took step by step pictures so technically you don't even need to know how to read if you want to make these!
Alright, here is the new post. I took step by step pictures so technically you don't even need to know how to read if you want to make these!
Get your recipe....
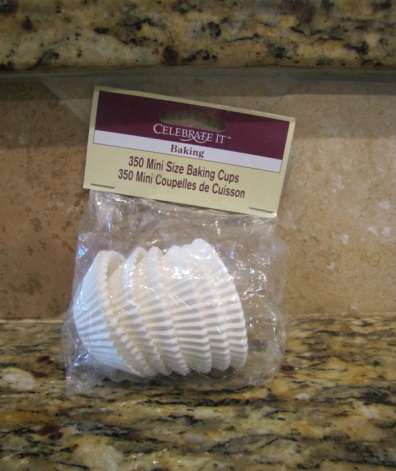
To start off, you need to make sure you have mini baking liners.
I love these things!
I love these things!
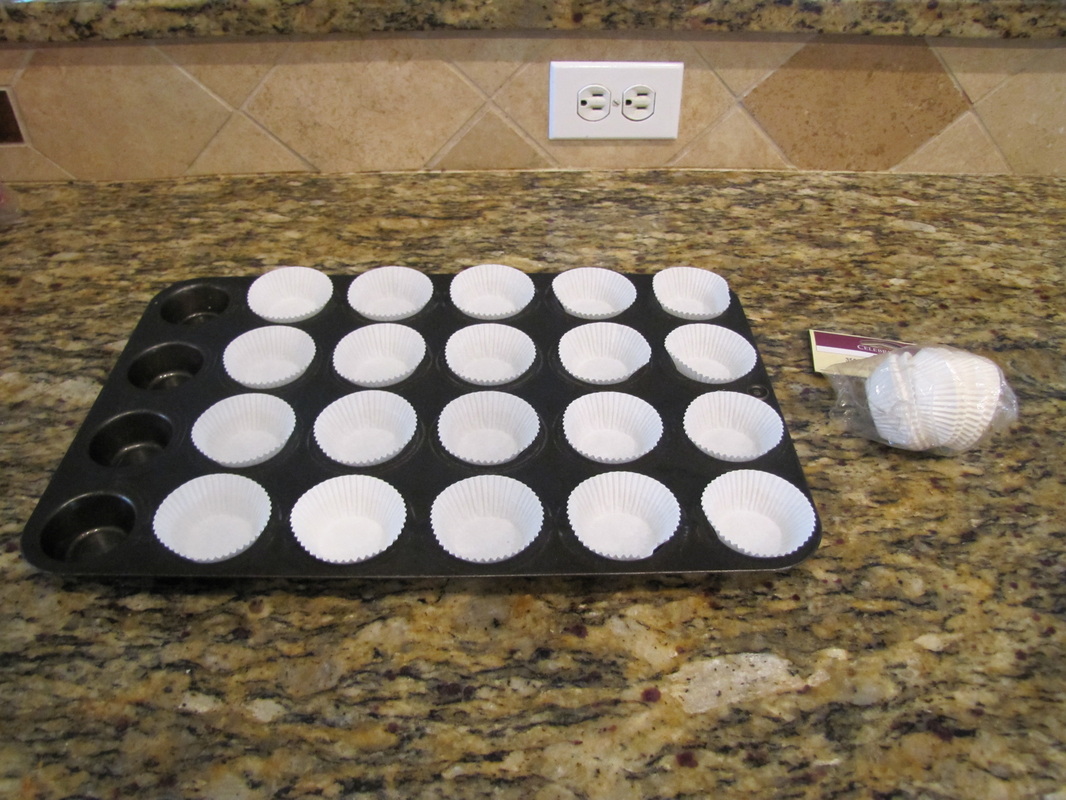
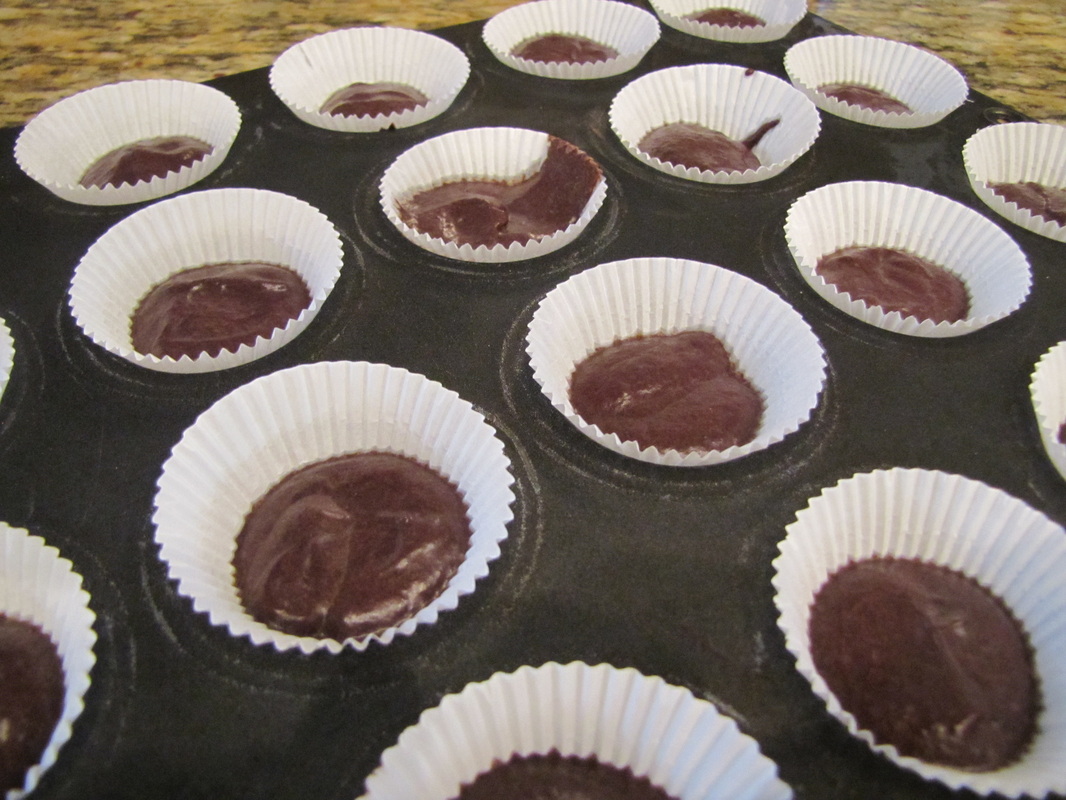
Then fill twentie, mini cupcake tins, with the mini liners....
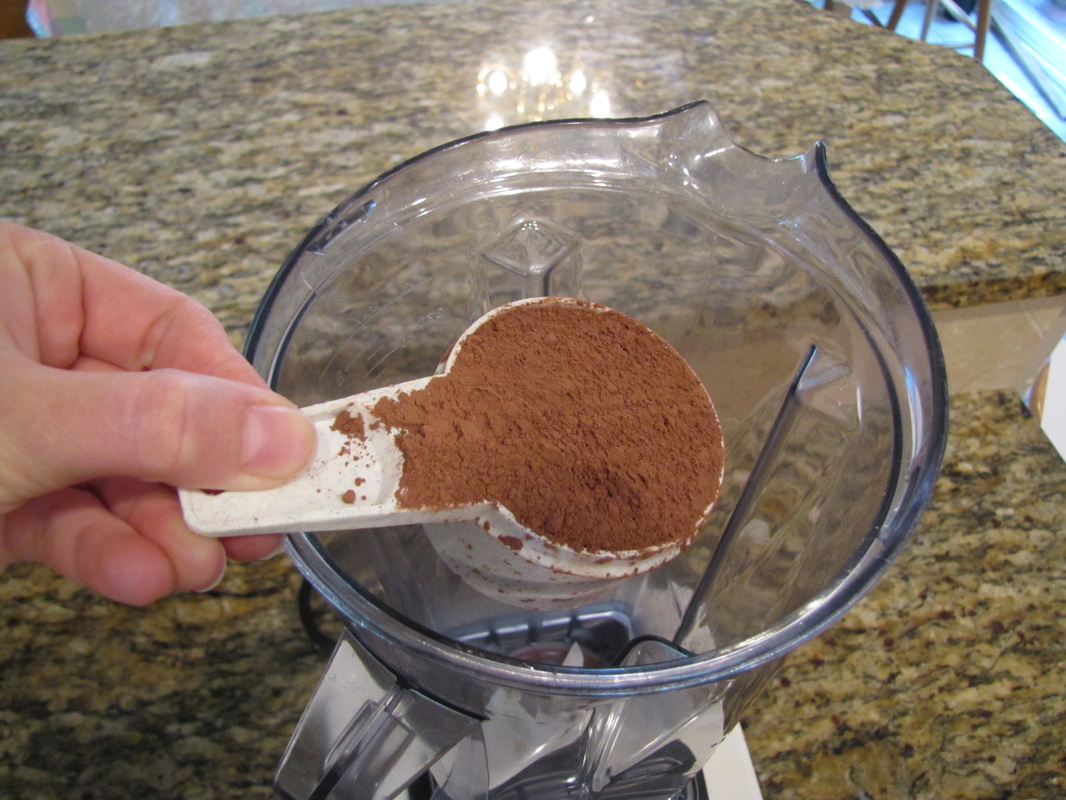
Start off my by getting a food processor or a Vita mix out. Then put your cocoa in.....
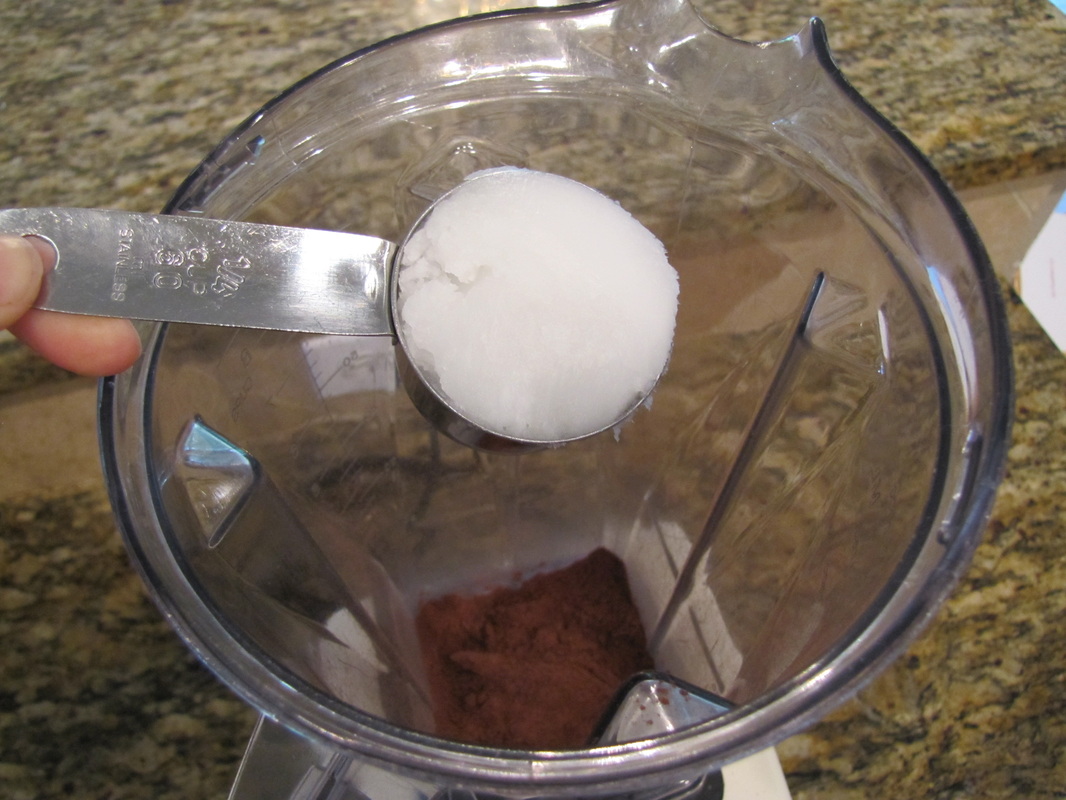
The coconut oil (or butter)
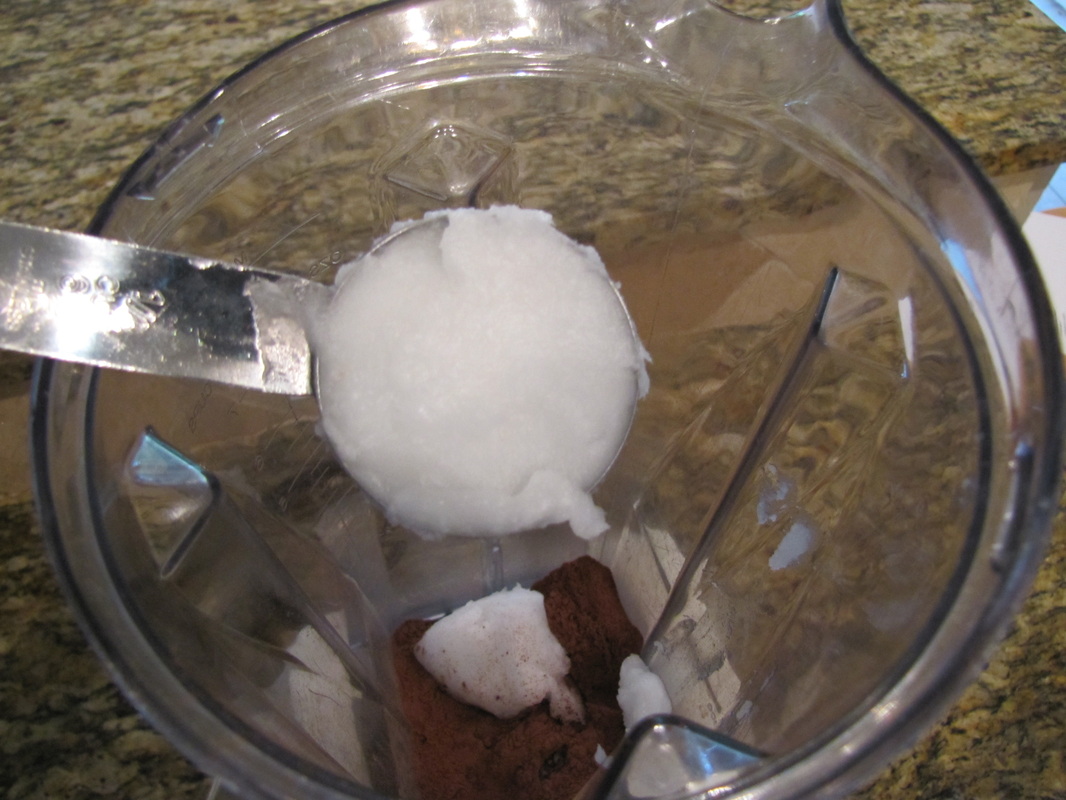
And then another 1/4 cup of coconut butter. Because silly me used a 1/4 cup instead of a 1/2 cup....
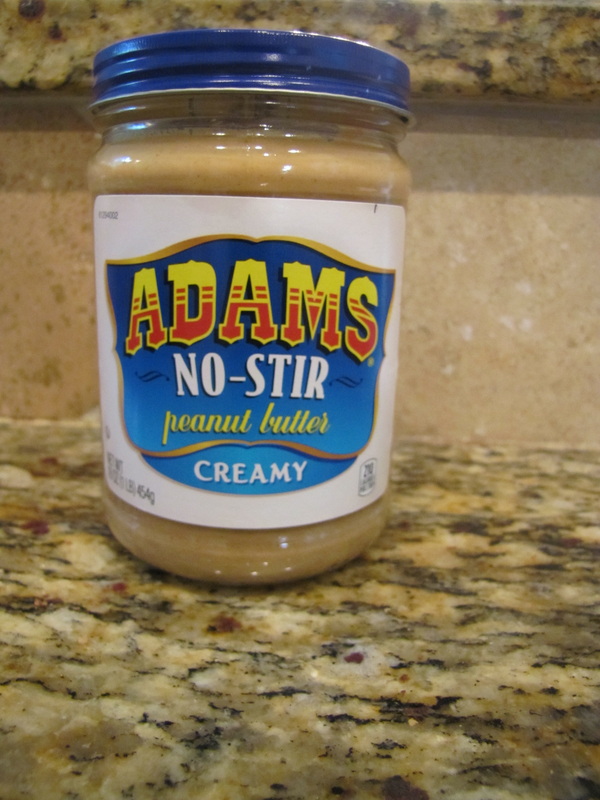
Next the peanut butter- I used Adams because there is no sugar added.
These are sugar free too!
These are sugar free too!
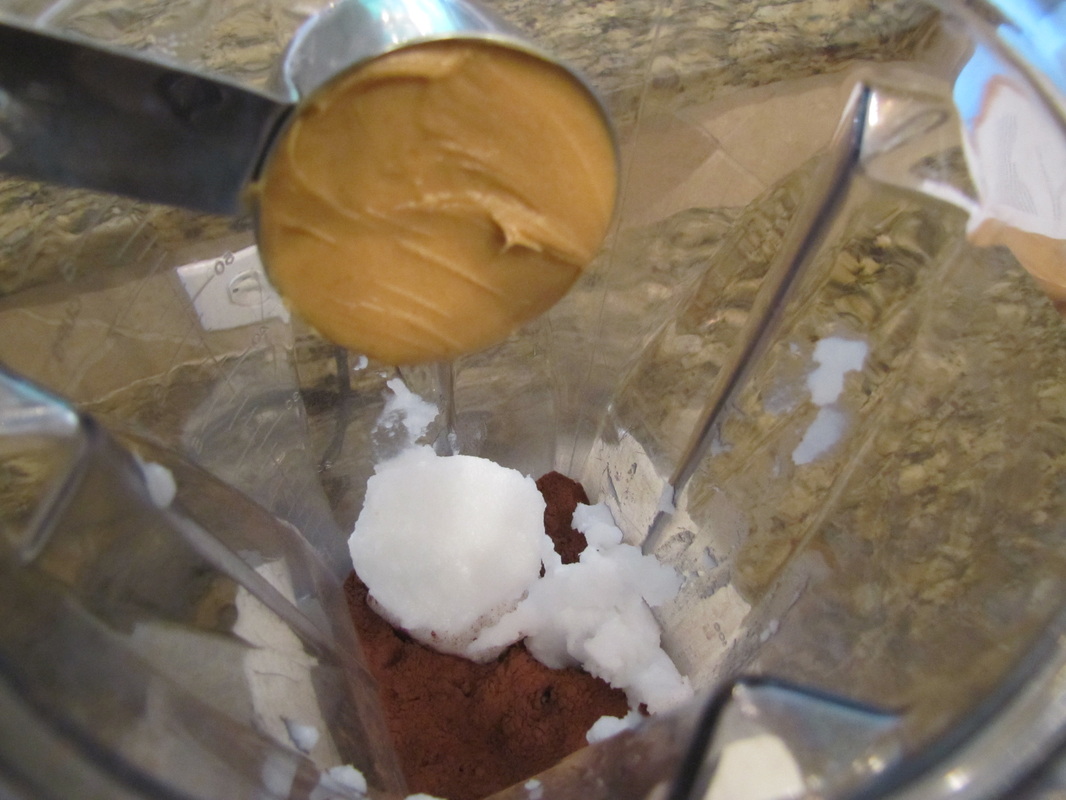
Throw that in!
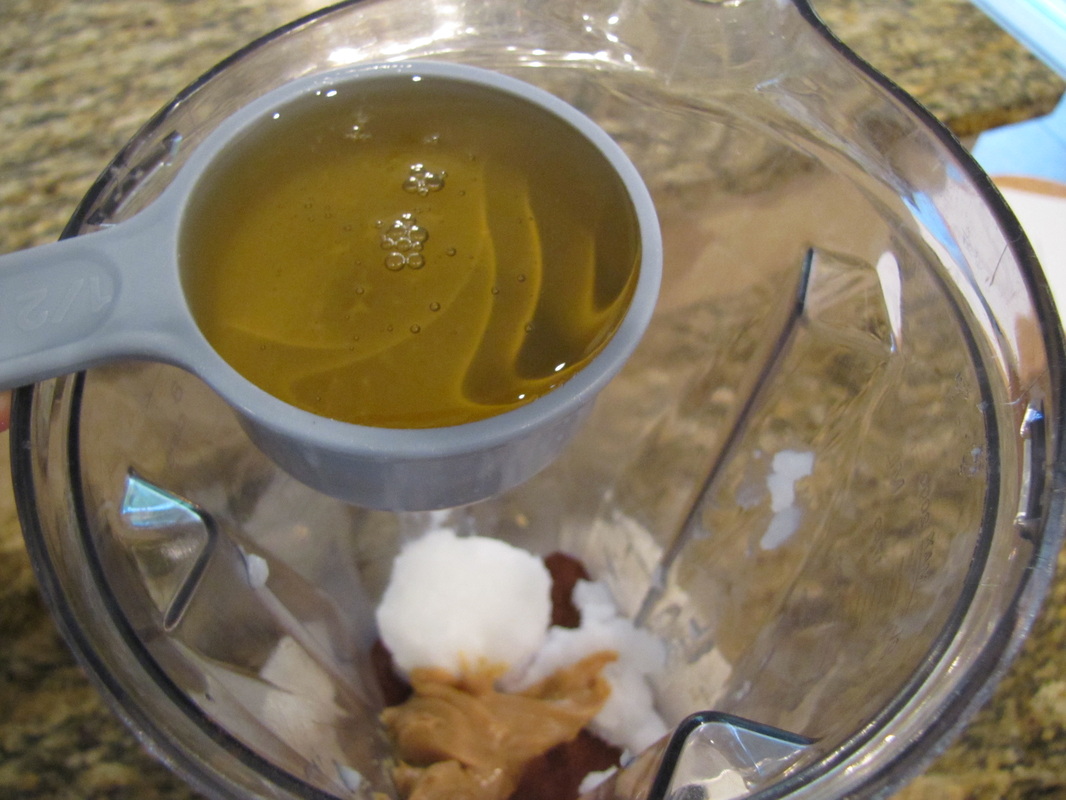
And your sweetener! Can't forget the agave!
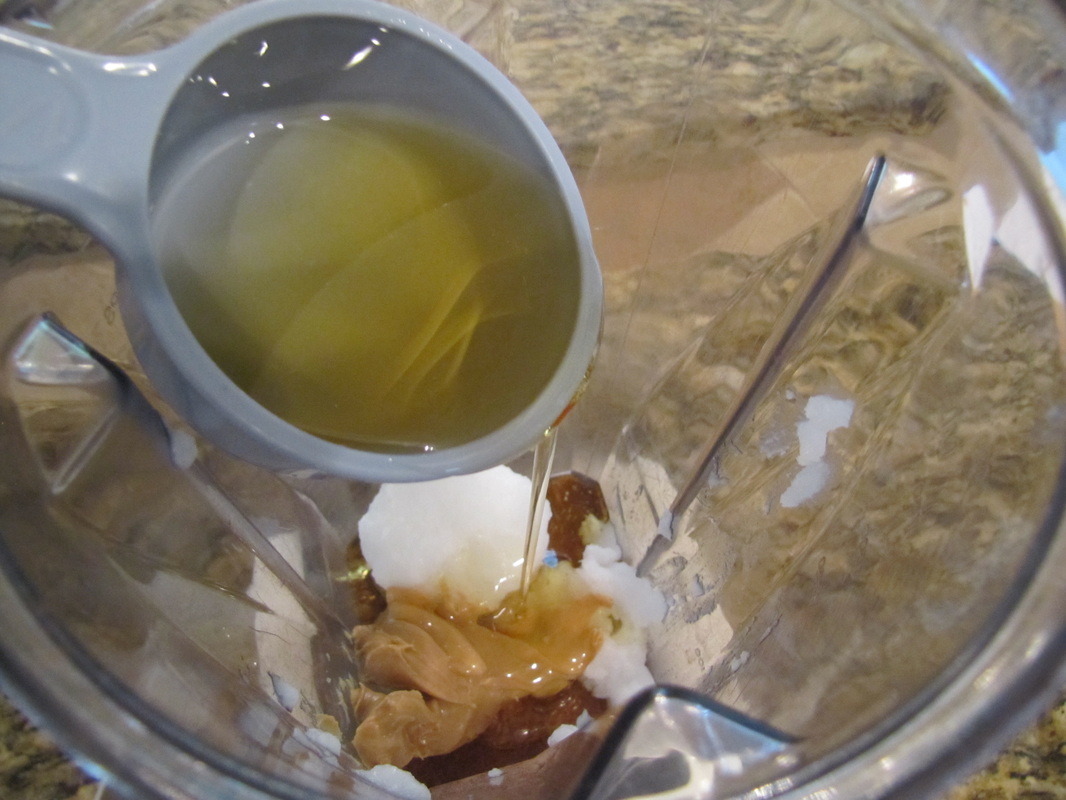
Drizzle that in there too.....
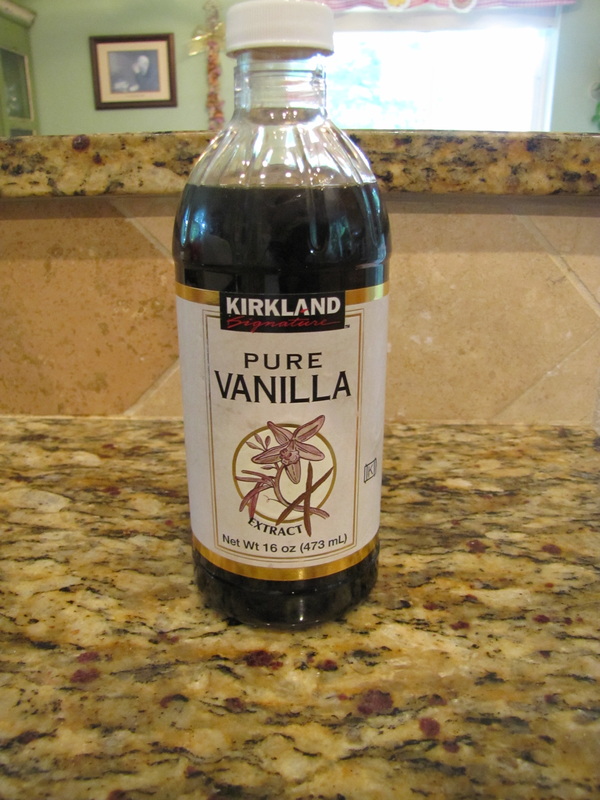
Vanilla! I love vanilla....you can add a splash of vanilla to anything and it will really enhance the flavor!
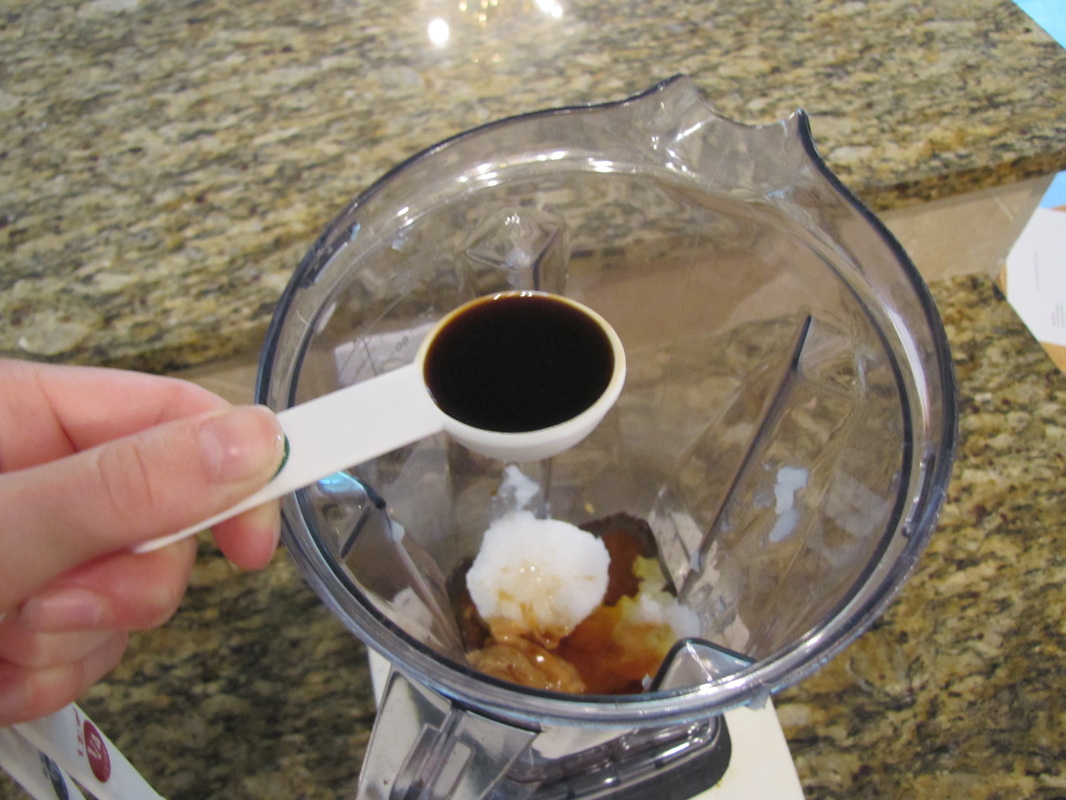
One Tablespoon of that.....
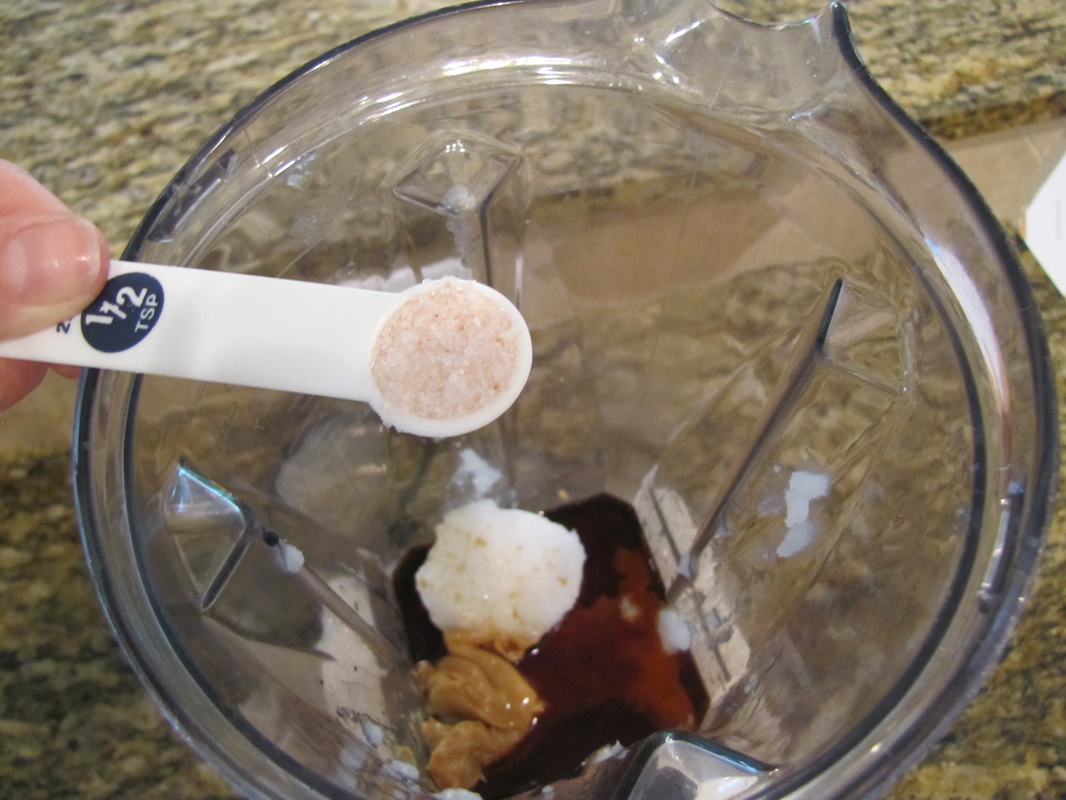
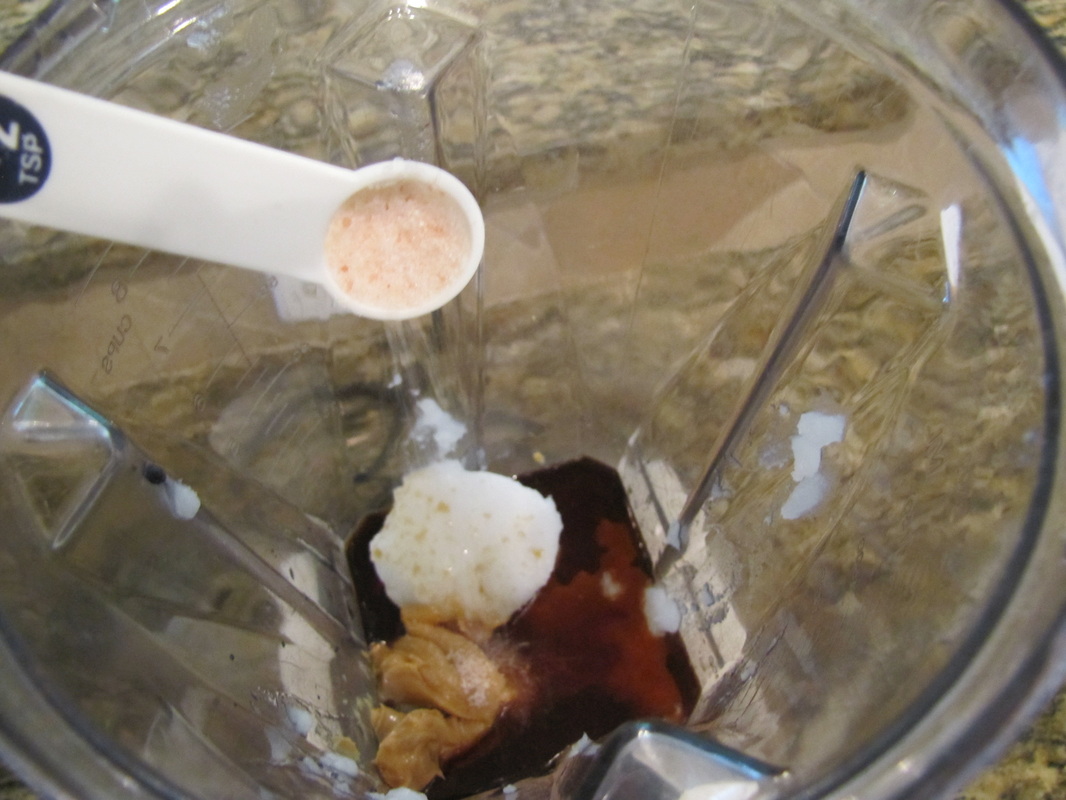
Salt!
Look at the recipe for a note on the salt....
Mark 9:50
“Salt is good, but if it loses its saltiness, how can you make it salty again? Have salt among yourselves, and be at peace with each other.”
Look at the recipe for a note on the salt....
Mark 9:50
“Salt is good, but if it loses its saltiness, how can you make it salty again? Have salt among yourselves, and be at peace with each other.”
Throw that in there baby!
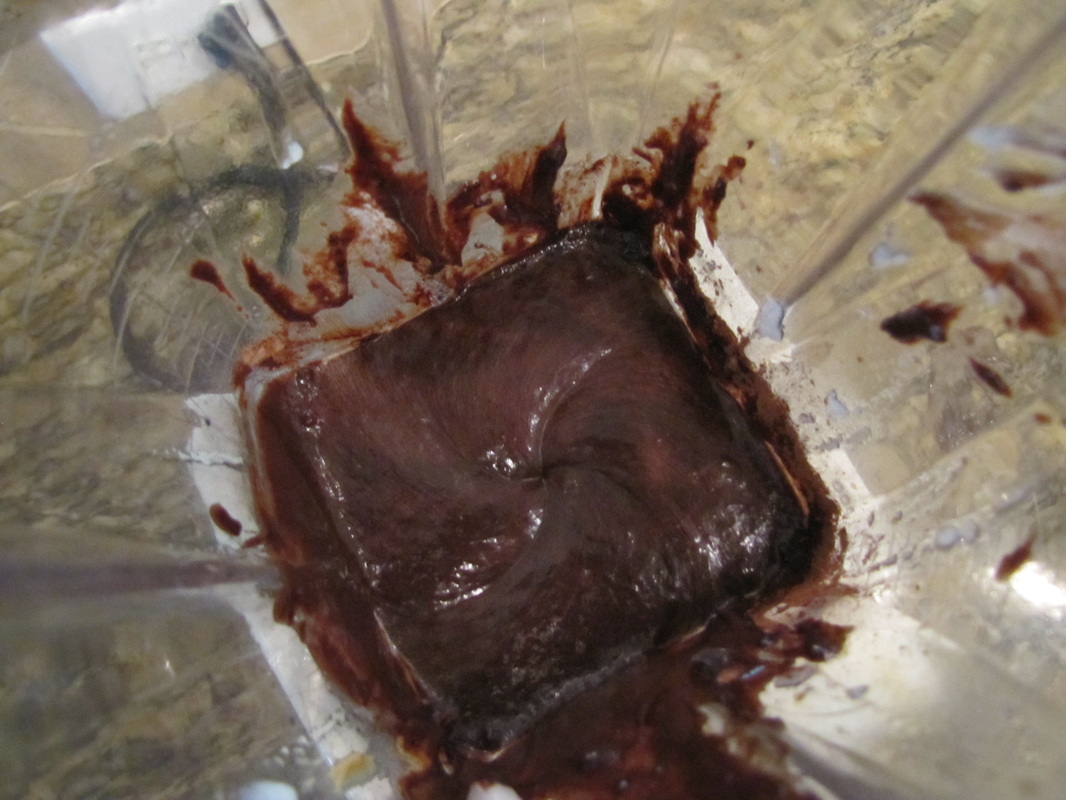
Then blend it all up really well!
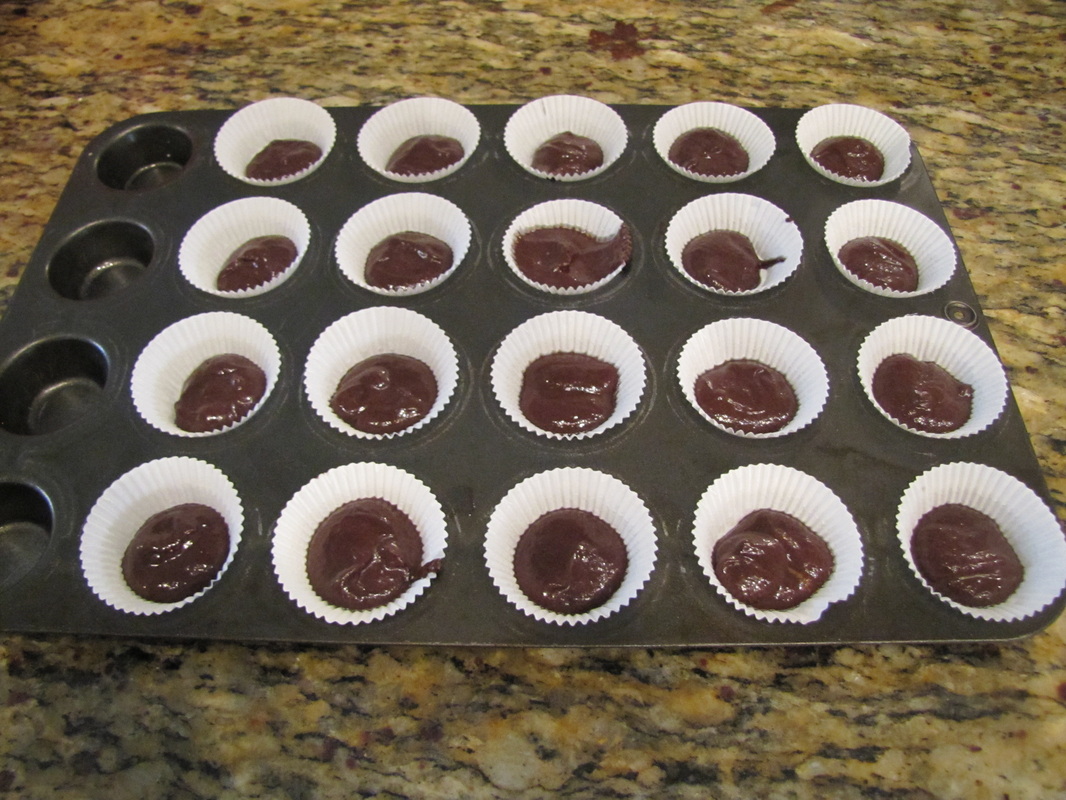
Next, spoon about a teaspoon into the tins....don't poor it out of the mixer. I tried that and it made a mess....trust me...it all came out at once!
Freeze them for a couple minutes...
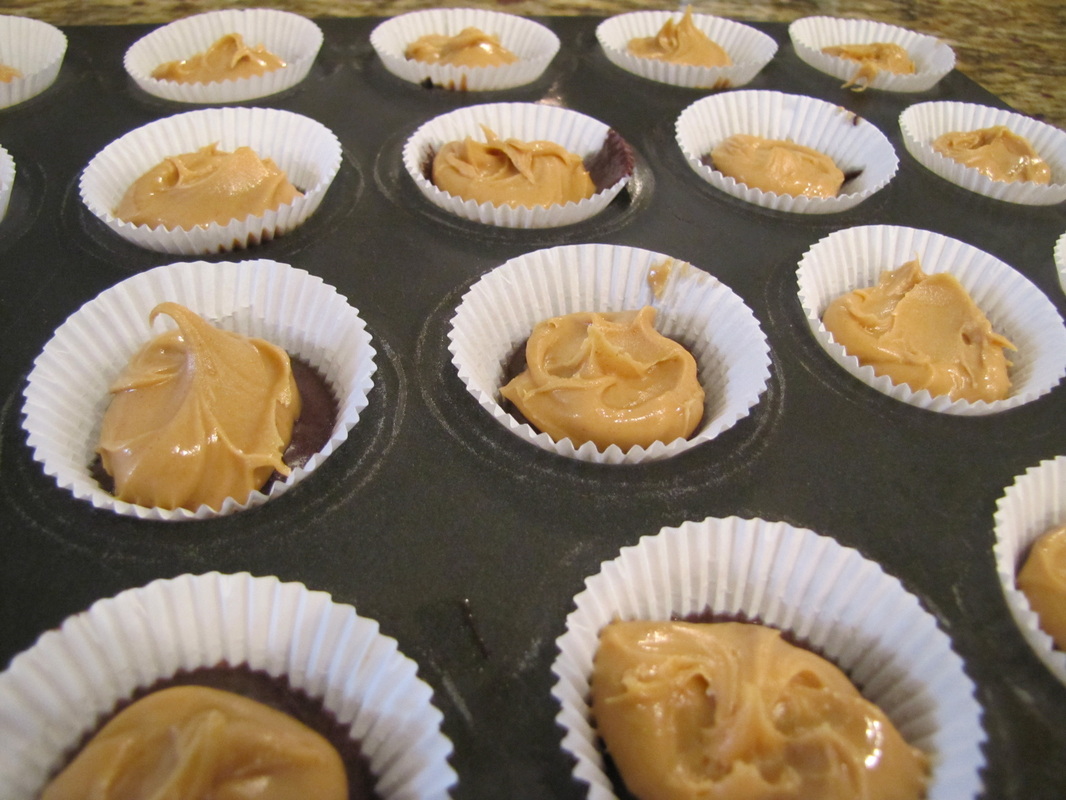
Then it's peanut butter time!
I wanted to mentioned that I don't measure the peanut butter at this point. I just put a nice little dollop.
It is really your preference.
I wanted to mentioned that I don't measure the peanut butter at this point. I just put a nice little dollop.
It is really your preference.

Another picture...
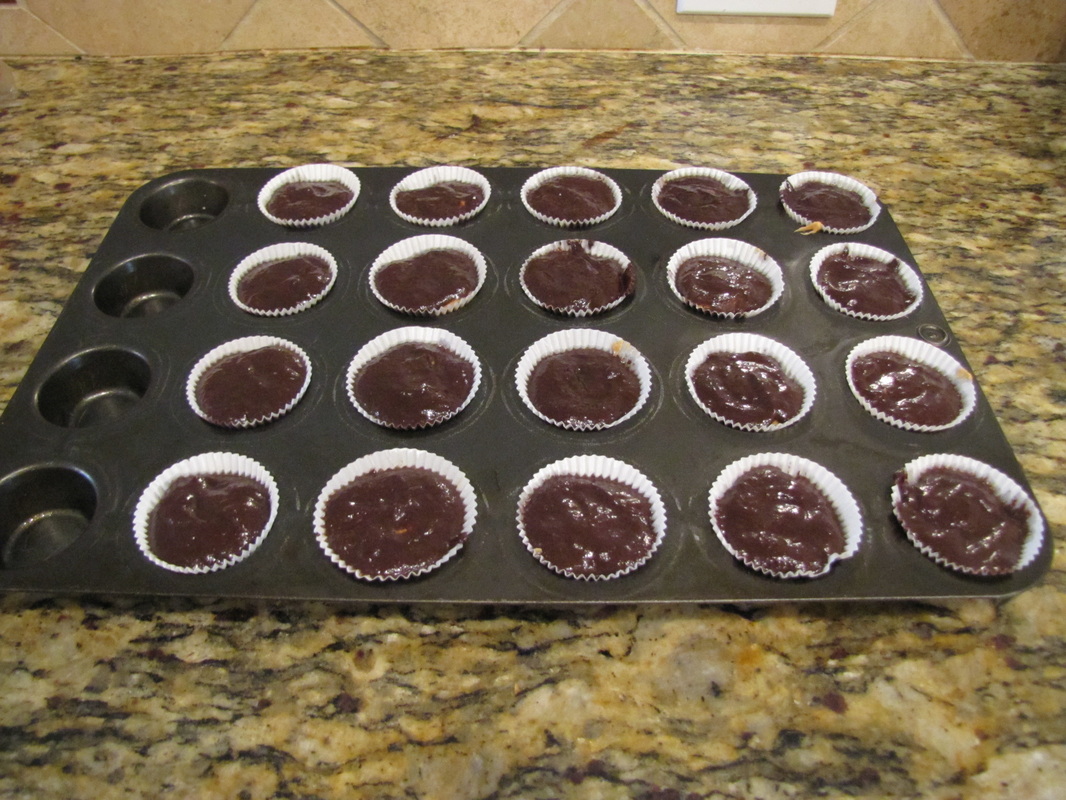
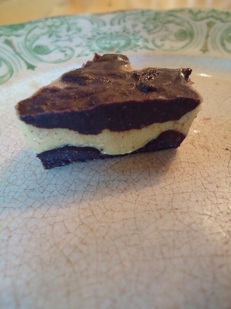
Put another layer of chocolate on top, just enough to cover the peanut butter. You want to make sure you have enough chocolate to cover them all.
Then off to the freezer again!
Then off to the freezer again!
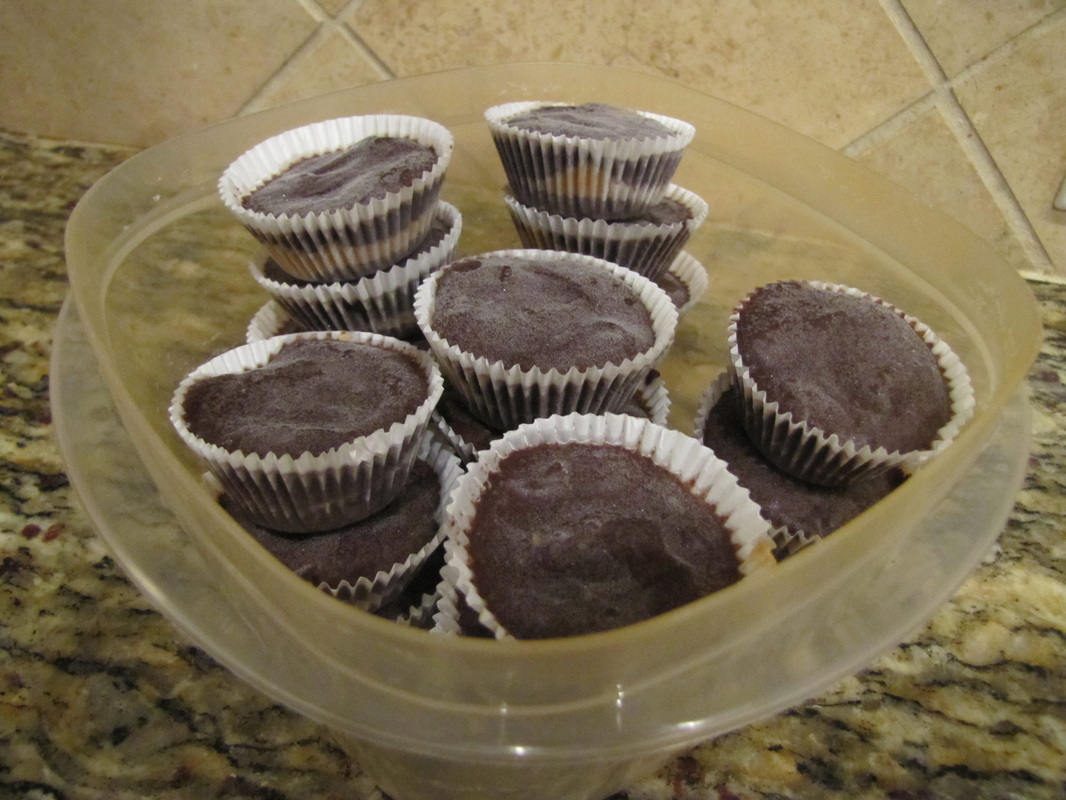
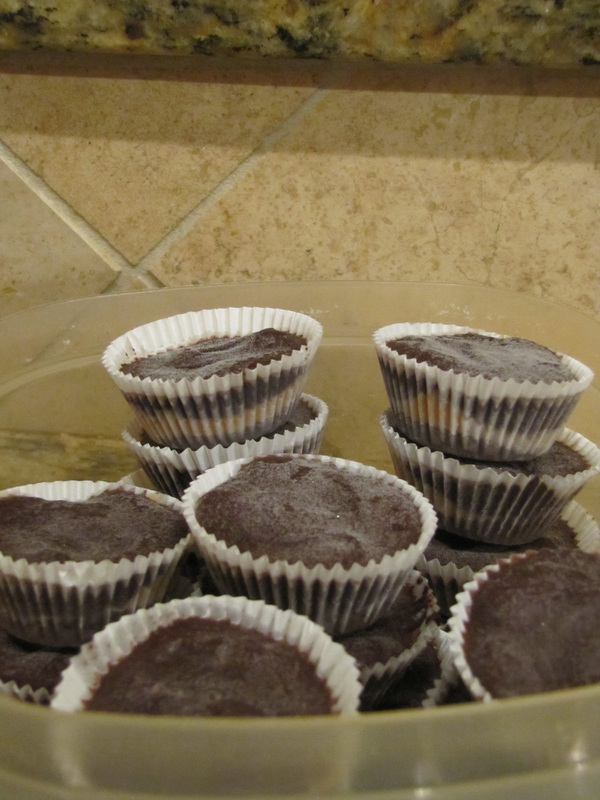
When they are all frozen, (might take an hour or two, I don't really know) put them in a plastic container.
Easy to store in and get them from!
Easy to store in and get them from!
Yumzy! I don't think that's a word...oh well!
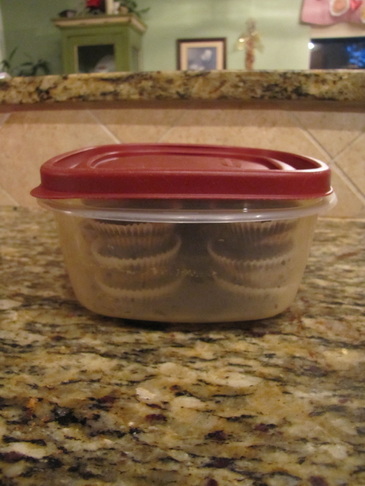
Put I lid on it! And plop it in the freezer!
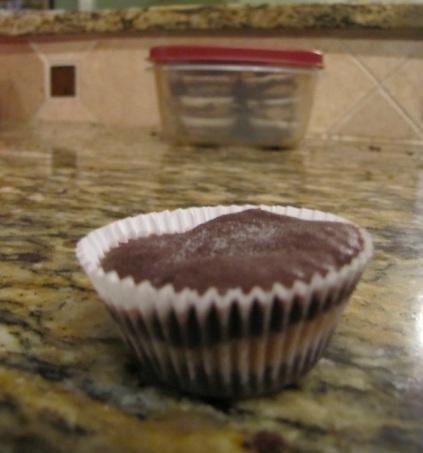
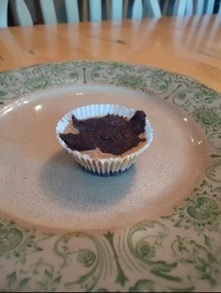
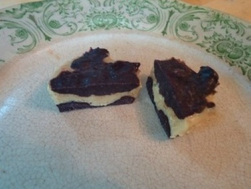
Opps, this one didn't make! Poor guy...I guess I will have to eat it!
I really like these as you can keep them in the freezer and take them out whenever you want one! And the freezer is a good place to hide them too! = ) Plus they last longer in the freezer.
Oh, and a side note,- you might want to let them thaw for a minute before you eat it as it will be pretty hard. But it thaws really fast!
Enjoy!
Have a fabulous day!
~Country Girl

 RSS Feed